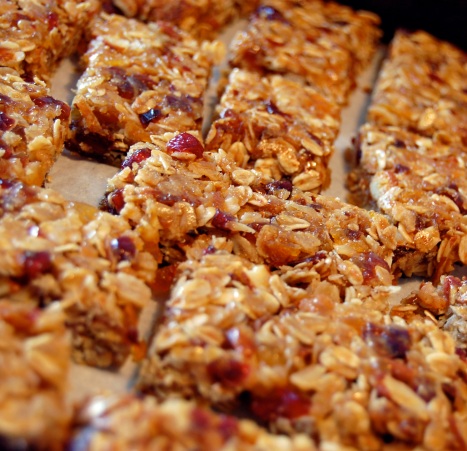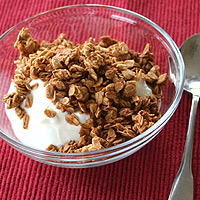
Granola
makes 3 1/3 cups
3 c old-fashinoned oats
1/2 c pure maple syrup
1/4 c powdered milk
1/4 c brown sugar
2 T unsalted butter melted
1 1/2 t pure vanilla extract
1 t kosher salt
Triple Recipe
makes 10 cups
9 c old-fashioned oats
1 1/2 c pure maple syrup
3/4 c powdered milk
3/4 c brown sugar
6 T unsalted butter melted
1 T + 1 1/2 t pure vanilla extract
1 T kosher salt
1. Heat oven to 250. On a large rimmed baking sheet measure and spread out the oats. Bake to (1)toast slightly, 10 minutes for the (2)small batch, 20 minutes for the triple batch.
2. While the oats are toasting add the remaining ingredients to a large bowl. Mix well.
3. When the oats are toasted transfer them to the large bowl and mix well. Line the baking sheet parchment paper. Pour the mixture onto the prepared sheet. Bake 30 minutes for the small batch, 60 minutes for the triple batch.
4. Remove from oven. Holding onto a long side of the parchment paper, pull and flip the granola onto the baking sheet (3)upside down. Gently spread to an even thickness. Bake 20 minutes for the small batch, 45 minutes for the triple batch.
5. Remove from oven and stir gently. Push the edge bits to the middle and the middle to the edge for even baking. Bake 10-15 minutes for the small batch, 30 minutes for the large batch.
6. Remove from oven and stir again. Bake, check and stir every 10-15 minutes until oats are deep (4)golden in color and crunchy when chewed. The intial bite may be a little soft, but if it cools and crunches quickly in your mouth it is ready.
7. Place baking sheet on a cooling rack and cool completely. Serve or store in an airtight container up to 3 weeks at room temperature.
Notes
1. Toasting the oats helps form clumps. It also gets crunchier without over-baking the other ingredients.
2. I recommend making the small recipe first to get the crispness right. When you know how it should look and taste try the triple recipe. It's great to have granola on hand!
3. To form clumps, stir the granola as little as possible in the first two stirrings. Pulling the parchment paper out while flipping the granola is a good way to stir it without breaking up the clumps.
4. The trickiest part of making this granola is knowing when it is done. The last 2-3 times I remove it from the oven it looks about the same. Taste testing is the most accurate way to know if it's done. The first bite will be a little soft, but it will cool quickly and crunch in your mouth if it is done.
Underbaked- It may taste good and be crunchy the first day or two, but will start to soften after this.
Perfect- It will be good and crunchy and store well up to three weeks.
Overbaked- It will taste a little burnt even if it doesn't look like it. It will store fine however if it still good enough to eat.